Making crayons is a fun, engaging science experiment that doubles as fine motor practice.
With every single lesson I plan, I am always trying to incorporate more fine motor practice. Teaching younger students with disabilities, I find that many of my students also have fine motor deficits… and the ultimate goal that I set for my students is independence.

I ha dseen tons of pins on Pinterest about melting crayons and it always seemed like fun. So when I found the silicone heart molds at WalMart I just had to have them.
While we did this initial activity for Valentine’s Day, you can certainly plan this lesson for any time of the year.
Supplies you’ll need:
- Silicone molds (hearts, shapes, letters)
- Crayola crayons (this brand works best in my opinion)
- Baking Tray
THE HOW TO:
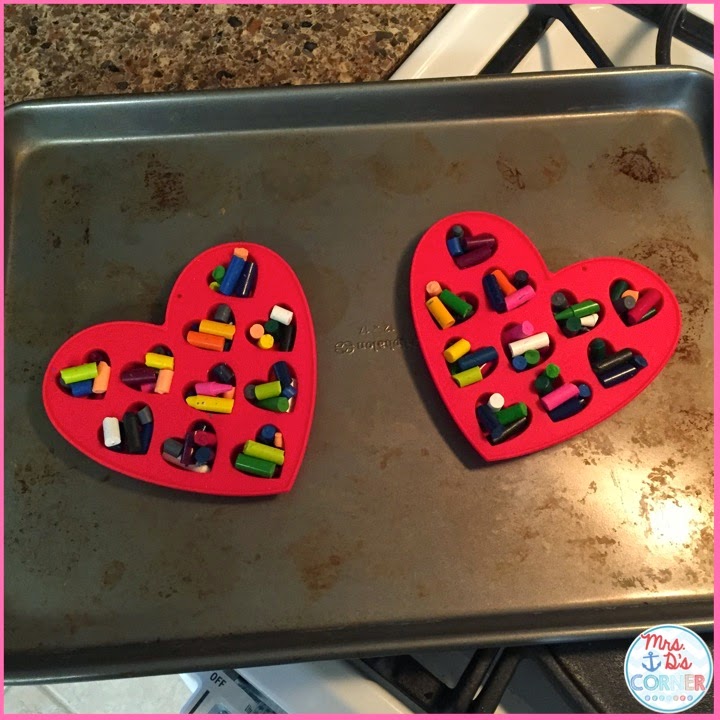
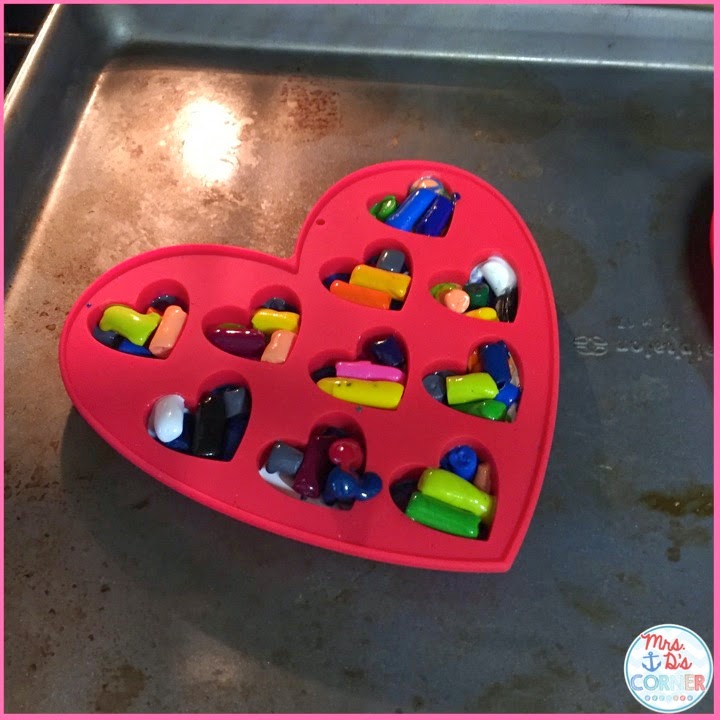
First, peel the paper off of the crayons. I enlist students to help with this because it’s such a fantastic fine motor task! For students who don’t yet have that fine motor ability, you can have those students break the crayons into smaller pieces.
Allow students to mix colors up to create tye-dyed shape crayons, or make new crayons in any array of colors they want. This is the best part!
Each student got to fill up 4 little hearts. You can do it this way, or each student can have their own silicone mold. Completely up to you!
This was the first time I had ever used silicone molds for anything. But they’re easy to maneuver, the crayons don’t stick to the silicone, and you can pop them right out once they cool down. Genius!
We don’t have an oven in the classroom, so I took the filled silicone trays home.
I put the filled molds onto a baking tray to protect the silicone mod from falling through an oven rack and to keep them level. I didn’t want to risk the chance of the crayons melting over the sides and melting to the bottom of the oven.

I set the oven to 350 degrees. I figured that was the average temperature you use to cook something.
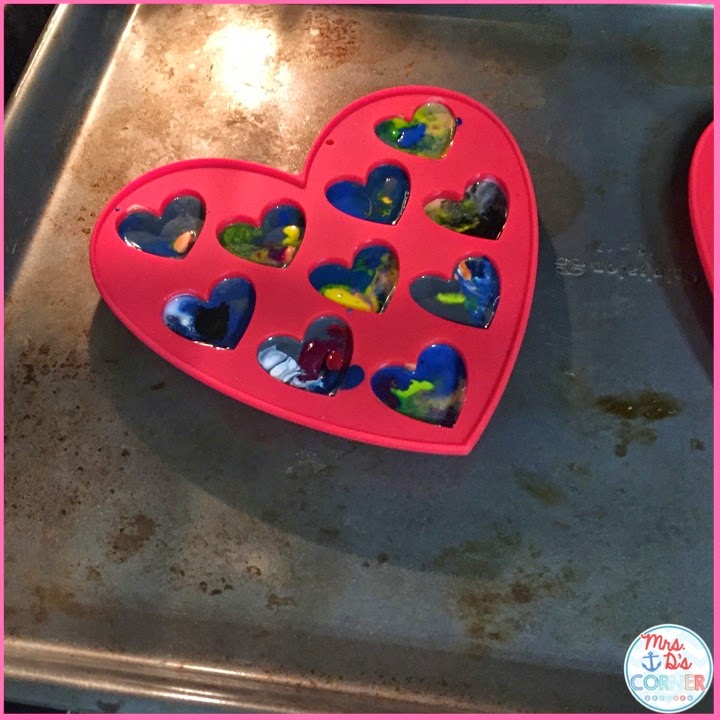
I stood by the oven to make sure I didn’t over-melt the crayons. It took about 4-5 minutes total for the crayons to fully melt.
I didn’t really think the melting crayons would have a strong smell, but it did. It wasn’t an awful smell though…
The best way to describe it is, do you remember those machines (kind of like the Easy Bake Oven, but for boys), where they could melt this plastic/silicone stuff into a mold and create stretchy insects? My brother had one growing up and we loved it! Anyway, I don’t remember what it was called, but the smell reminded me of that machine.

After the crayons finished melting (again, about 4-5 minutes at 350 degrees), I took them out of the oven to cool.
The cooling process will take longer than the melting process. You can let them cool overnight.

But once the molds and new crayons are finished cooling, you just pop them right out of the silicone tray!


POP!
Some of our crayons had this layer of melted crayon on top that didn’t really mix with the other crayon. I think that’s the difference in crayon wax (and why I say that Crayola brand works best).
Take the molds back to school the next day and let your students pop out their crayons. Use the crayons to create a special parent gift or a bulletin board display. The possibilities are endless!
YOU MAY ALSO LIKE:
- Valentine’s Day Fun in Life Skills
- Duck for President [ Books Teachers Love ]
- Hosting a Class Valentine’s Day Party in Special Ed

